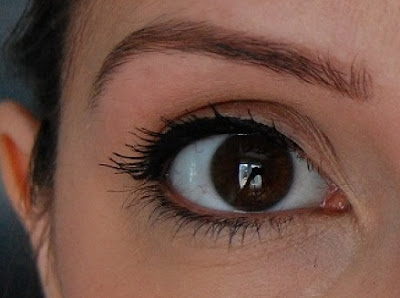
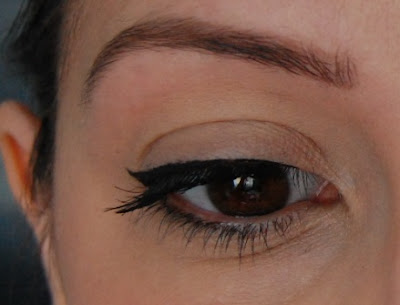
Following my post this morning with the perfect cat eye tutorial, I thought it might be useful to demonstrate how easily this look can be achieved and show you the products that I use. This took me just a couple of minutes and could easily be added in to your daily make-up regime; for that extra 'va va voom'!
I went for a relatively small flick for this demo, which is probably the best place to start if you are new to it. You can always increase the size of your flick once you are confident in the process, you've established the flicks shape and checked that both eyes are symmetrical.
I used Fast Stroke Eye-liner from Collection 2000, which has quite a stiff, felt tip style brush, which helps to draw a more accurate line. I always find it easiest to start the flick line from the corner of the eye and draw upwards towards the end of the eyebrow. If you don't get it quite right the first time, a handy cotton bud can wipe away any mistakes. Once the flick is in place and symmetrical, you can fill in the flick and join to your usual eye-liner, making the flick and liner as fine or chunky as you like.
I used Maybelline's Falsies Volume Express waterproof mascara, in black, to help define my lashes. I have quite watery eyes, especially in the sun, so I wear waterproof mascara pretty much all the time and this one is a goody!
A little tip that I like to use, which really helps your eyes to 'pop', is to use a kohl eye-liner pencil, like Maybelline's Master Drama kohl liner, inside the top eyelid. Some people find the concept of putting liner inside the eye a little squeamish but I think it helps create that extra drama that a cat eye deserves.
I'd love to hear from anyone who's tried the 'Cat-eye' for the first time. Let me know it goes!


.JPG)


Beautiful, thanks for sharing :)
ReplyDelete