When I opened my makeup box this morning, I had the urge to wear something other than my usual neutrals and wanted to share the look I came up with.
I've always been someone who predominantly uses eyeshadow on the eye lids as well under the eye but I've not tried it purely under the eye before.
I created this really simple look, with just a couple of products, in just a few easy steps and I think this look would be perfect if you're new to under eye colour!
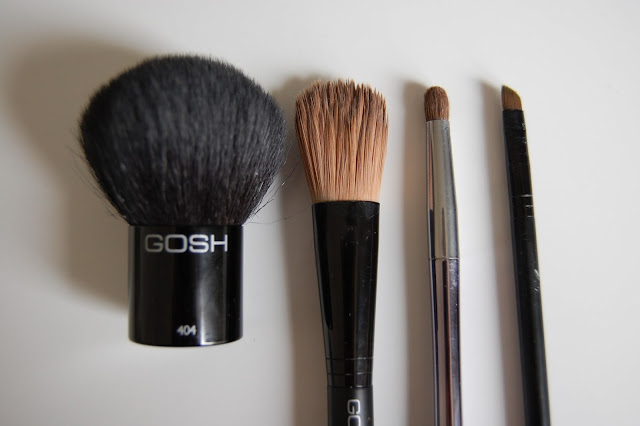
This look was created with four brushes, left to right below;
1) GOSH Kabuki Brush
2) GOSH Foundation Brush
3) M&S Eyelid Crease Brush (part of a set)
4) GOSH Slanted Eye-liner Brush
1) GOSH Kabuki Brush
2) GOSH Foundation Brush
3) M&S Eyelid Crease Brush (part of a set)
4) GOSH Slanted Eye-liner Brush
Step 1: Applying the base
I first used Maybelline Dream Satin Liquid in Cameo over my whole face, using my GOSH Foundation Brush, making sure to only use a tiny amount on my eyelids.
Step 2: Setting the base
I then dusted Maybelline FIT me! Pressed Powder in 125 Nude Beige, on top of the foundation, to set it in place, using my GOSH Kabuki Brush. I made sure to pay special attention to my T-Zone as this can tend to look a little shinier.
Step 3: Adding the eye base colour
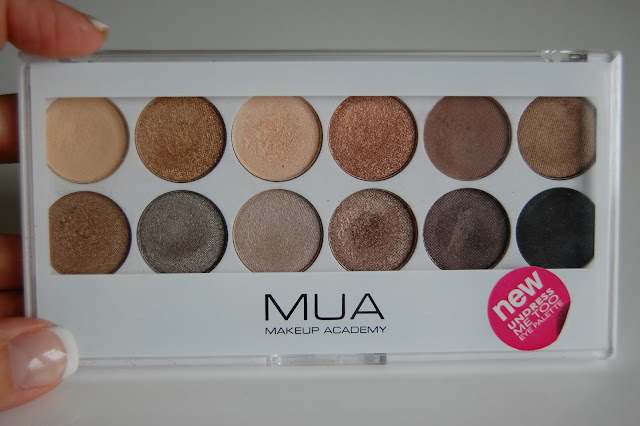
Because the focus of this look is under the eye, I used Naked (top line, 1st on left) from my MUA Undress Me Too Palette and with my Eyelid Crease Brush coated the whole of my top lid and up to my eyebrow. This creates a lovely neutral, matt finish to the eye.
Step 4: Adding inner corner colour
I then added a little of Shy (top line, 3rd from the left), to the inner corners of my eyes, to help open them and create a brighter eyed look. This particular colour in this palette is really well pigmented and a little goes a long, long way!
Step 5: Adding under eye backdrop colour
I then took my trusty (as you can see!) Barbara Daly, Tesco eyeshadow in Truffle to draw a smudged line again with my Eyelid Crease Brush, under my bottom lashes. This was just a faint smudge of colour, as a backdrop to the aqua.
I then took my trusty (as you can see!) Barbara Daly, Tesco eyeshadow in Truffle to draw a smudged line again with my Eyelid Crease Brush, under my bottom lashes. This was just a faint smudge of colour, as a backdrop to the aqua.
Step 6: Lining & brightening the eye
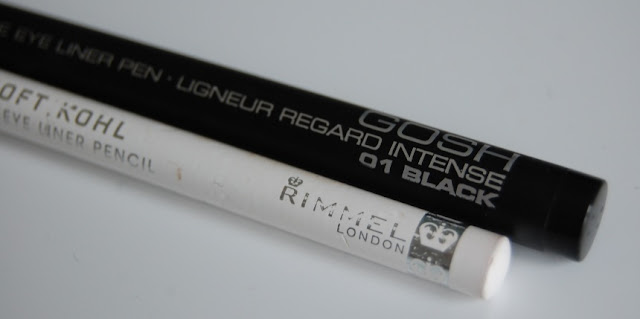
Using my GOSH Liquid Eye Liner Pen, I drew a thin line across the lid of each eye. I didn't take this out into a cat eye flick on this occasion, but it would look gorgeous that way too.
I also added Rimmel Soft Kohl Eye Liner Pencil in White inside of the eye. This really helps your eyes to 'pop' when adding bright colour shadows.
Step 7: Adding the aqua colour
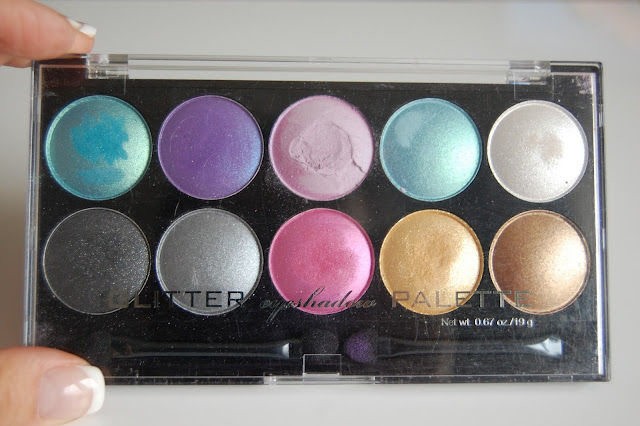
The fun stuff! I then took my H&M Glitter Eyeshadow Palette and used the top row, 1st left aqua shade, with my GOSH Slanted Eye Liner Brush, to draw a line under my bottom lashes, on top of the already applied Truffle eyeshadow. I then used my Crease Brush to smudge the Truffle & aqua together a little, to create a merged line free colour.
The fun stuff! I then took my H&M Glitter Eyeshadow Palette and used the top row, 1st left aqua shade, with my GOSH Slanted Eye Liner Brush, to draw a line under my bottom lashes, on top of the already applied Truffle eyeshadow. I then used my Crease Brush to smudge the Truffle & aqua together a little, to create a merged line free colour.
Step 8: Mascara
To finish, I added my new favourite mascara, They're Real, from Benefit, to top and bottom lashes, ensuring good coverage and the look was complete!
To finish, I added my new favourite mascara, They're Real, from Benefit, to top and bottom lashes, ensuring good coverage and the look was complete!
This is a very simple way of wearing colour if you're not used to it and can be done in almost any colour shadow or liner.
What do you think? Is it something you'll try?


No comments:
Post a Comment
Thanks for your comment and your interest in my blog! :)